Description
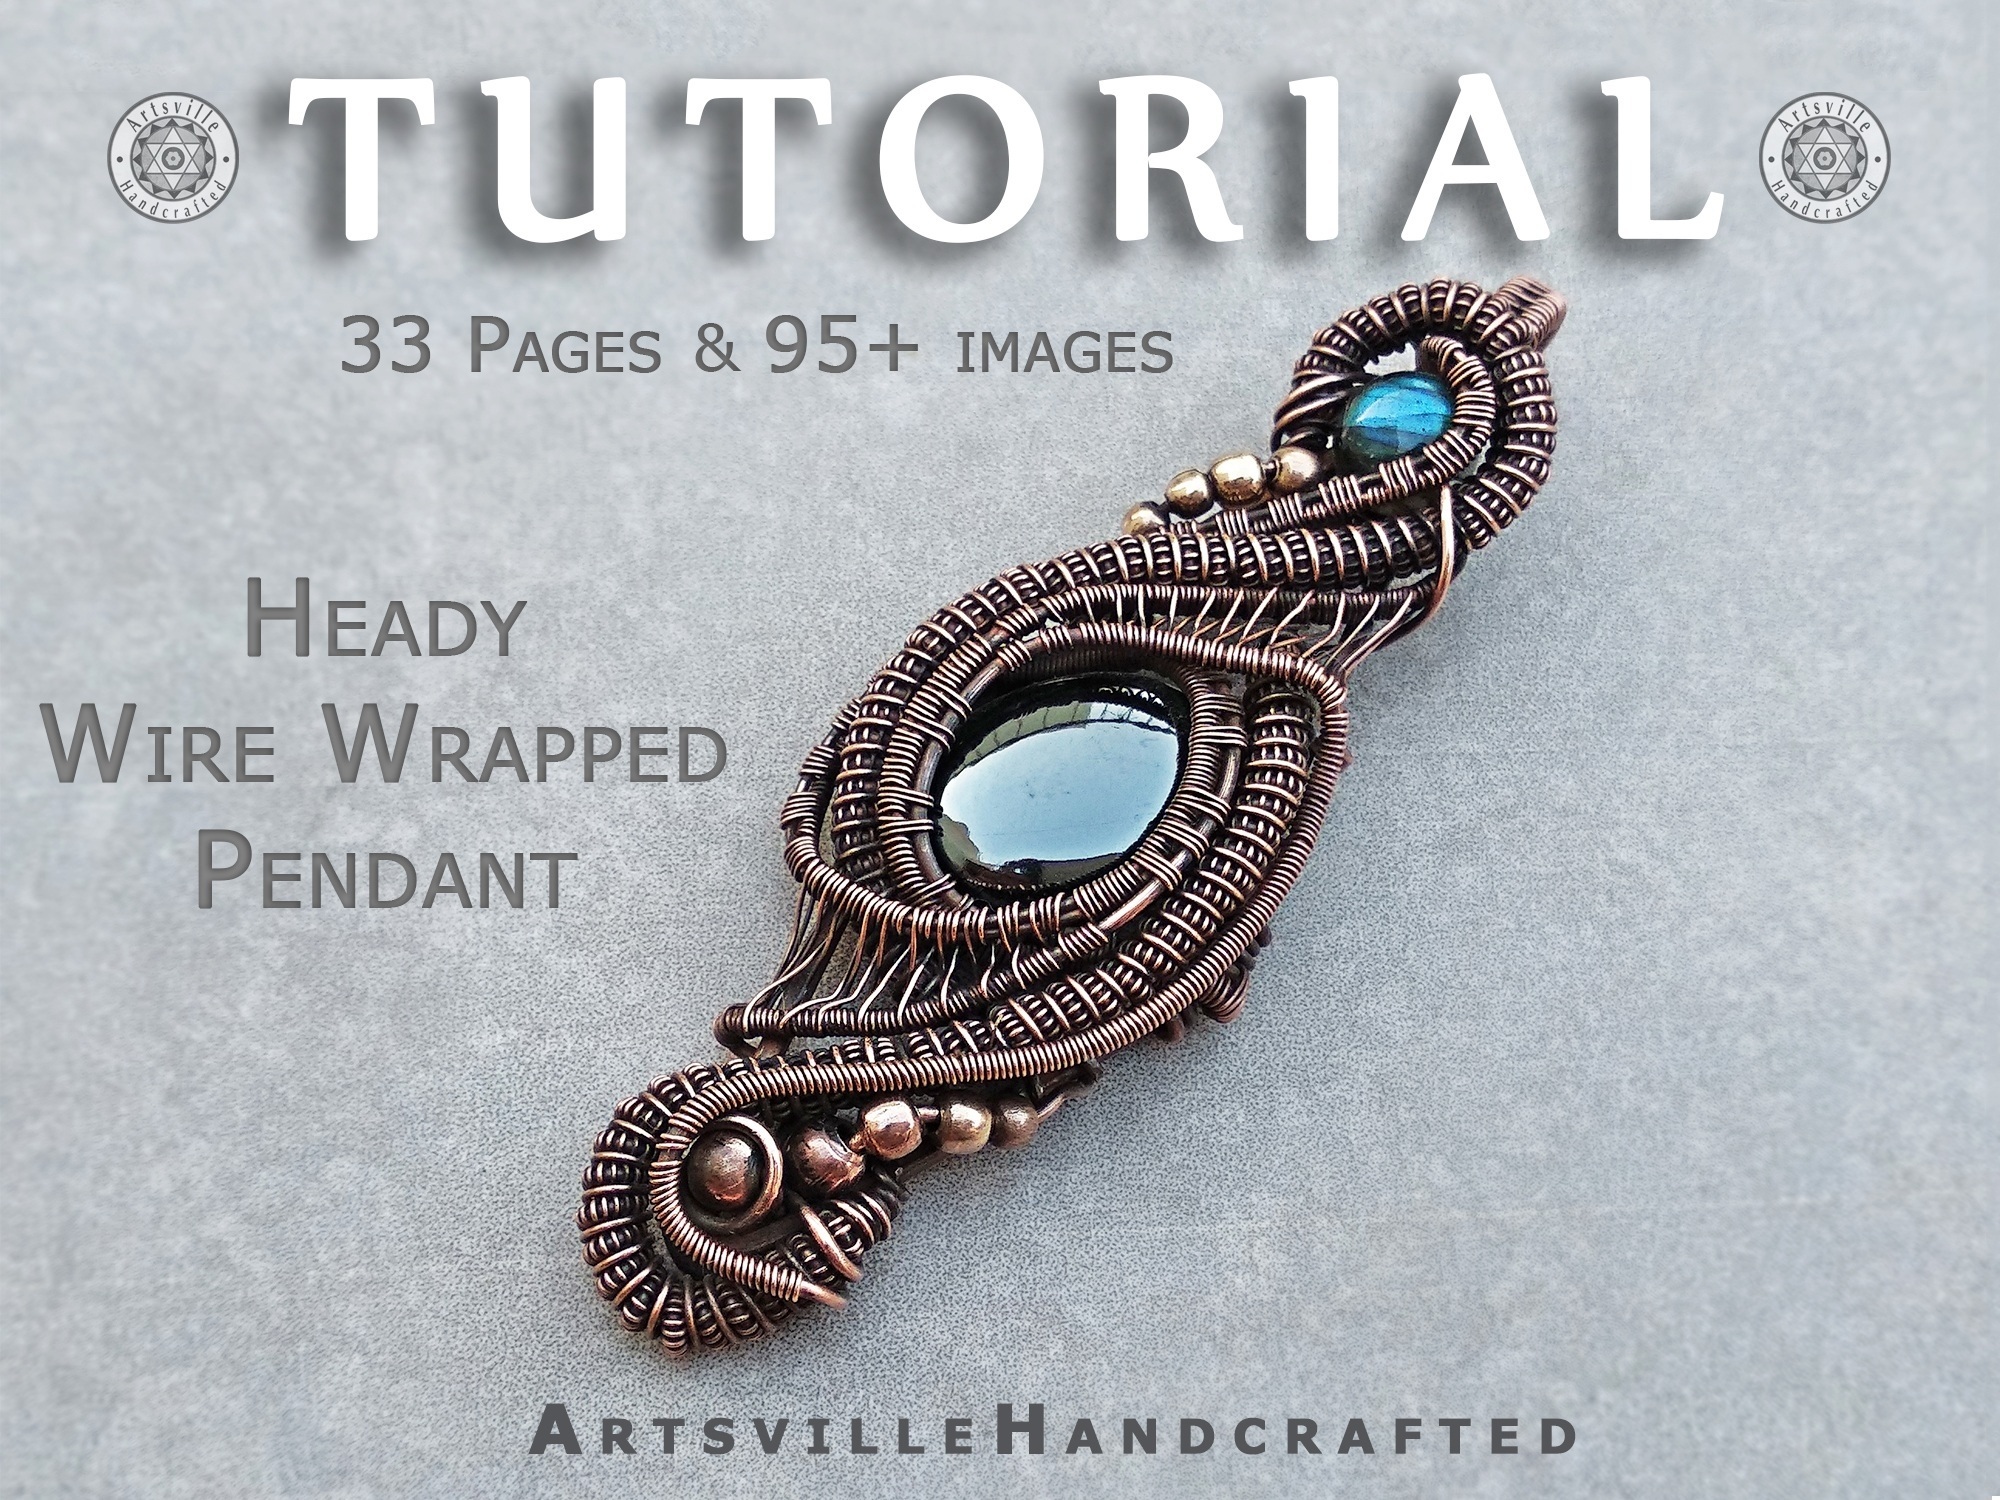
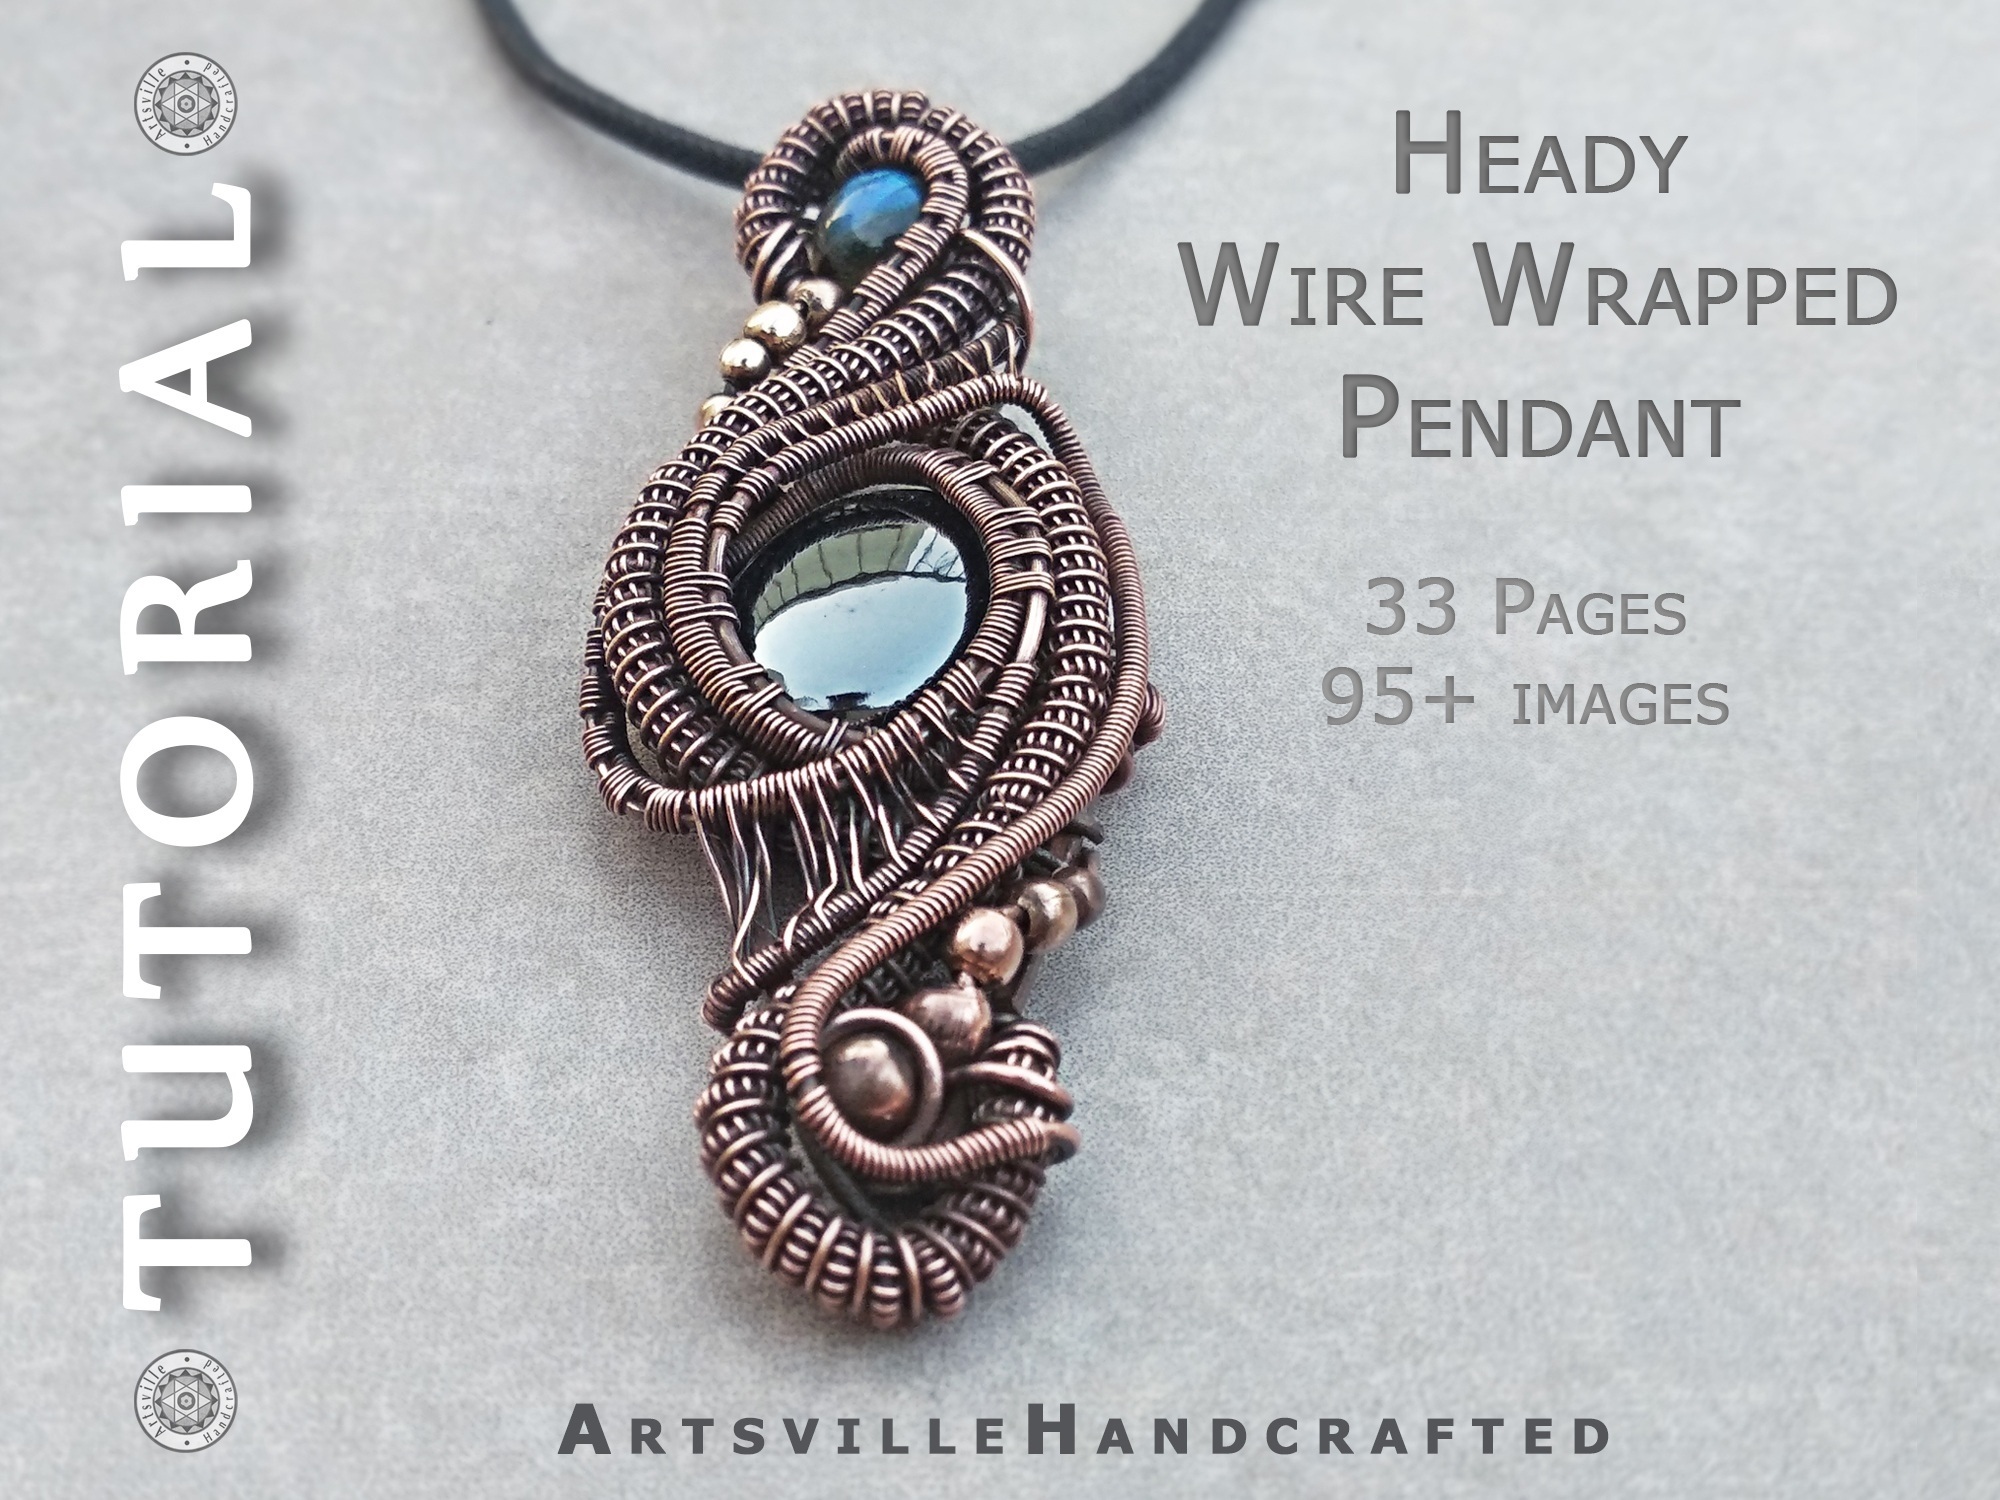
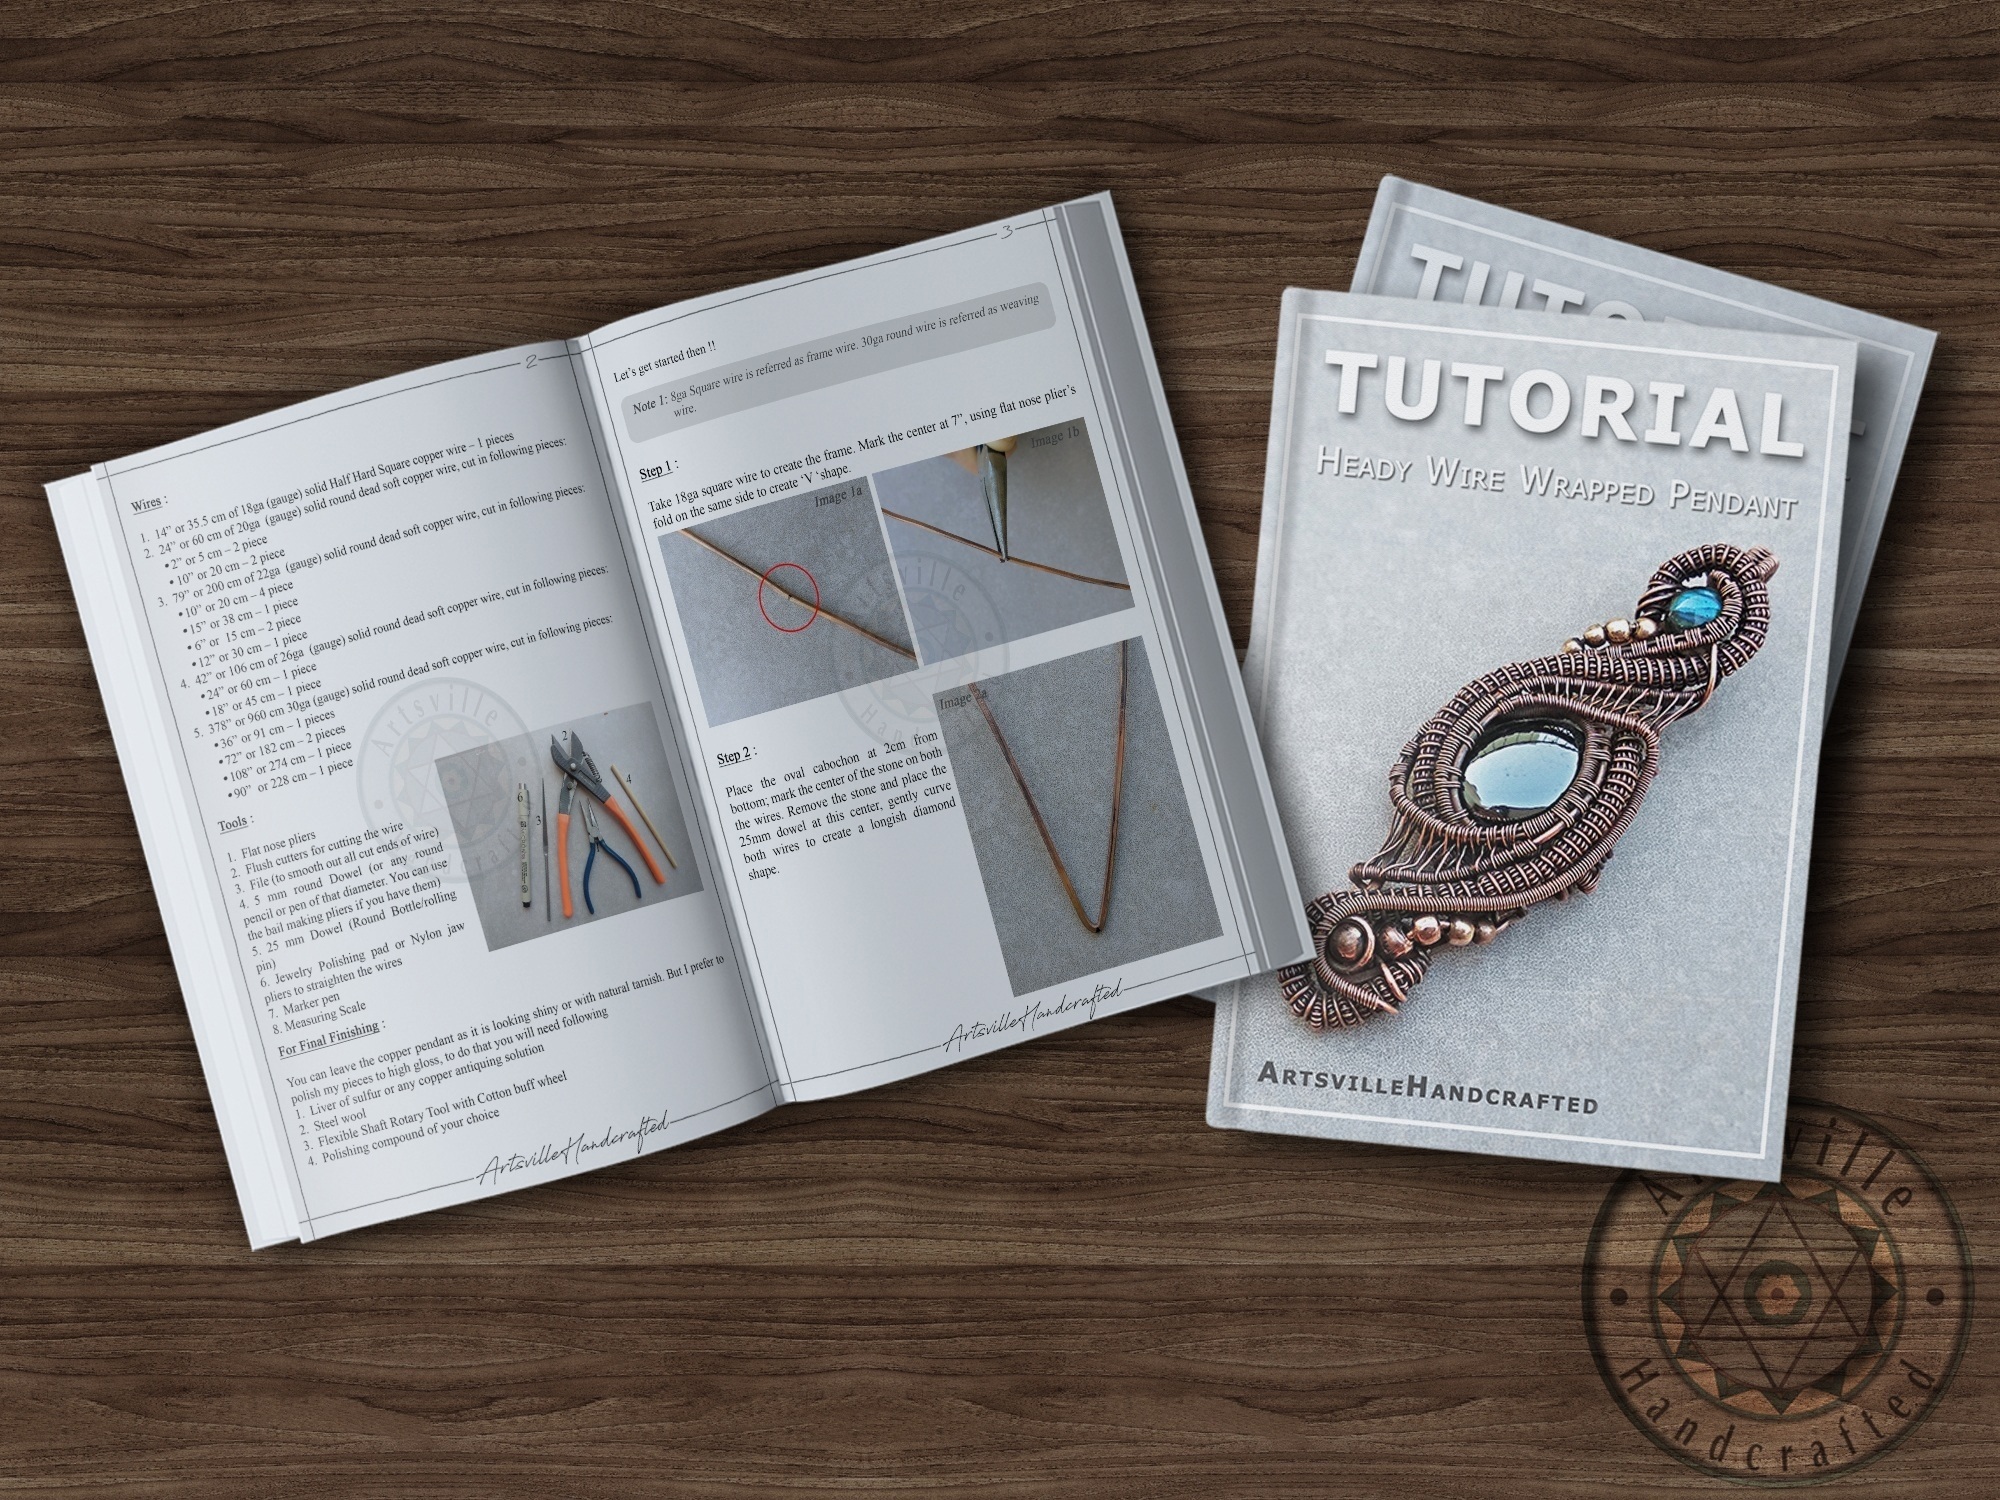
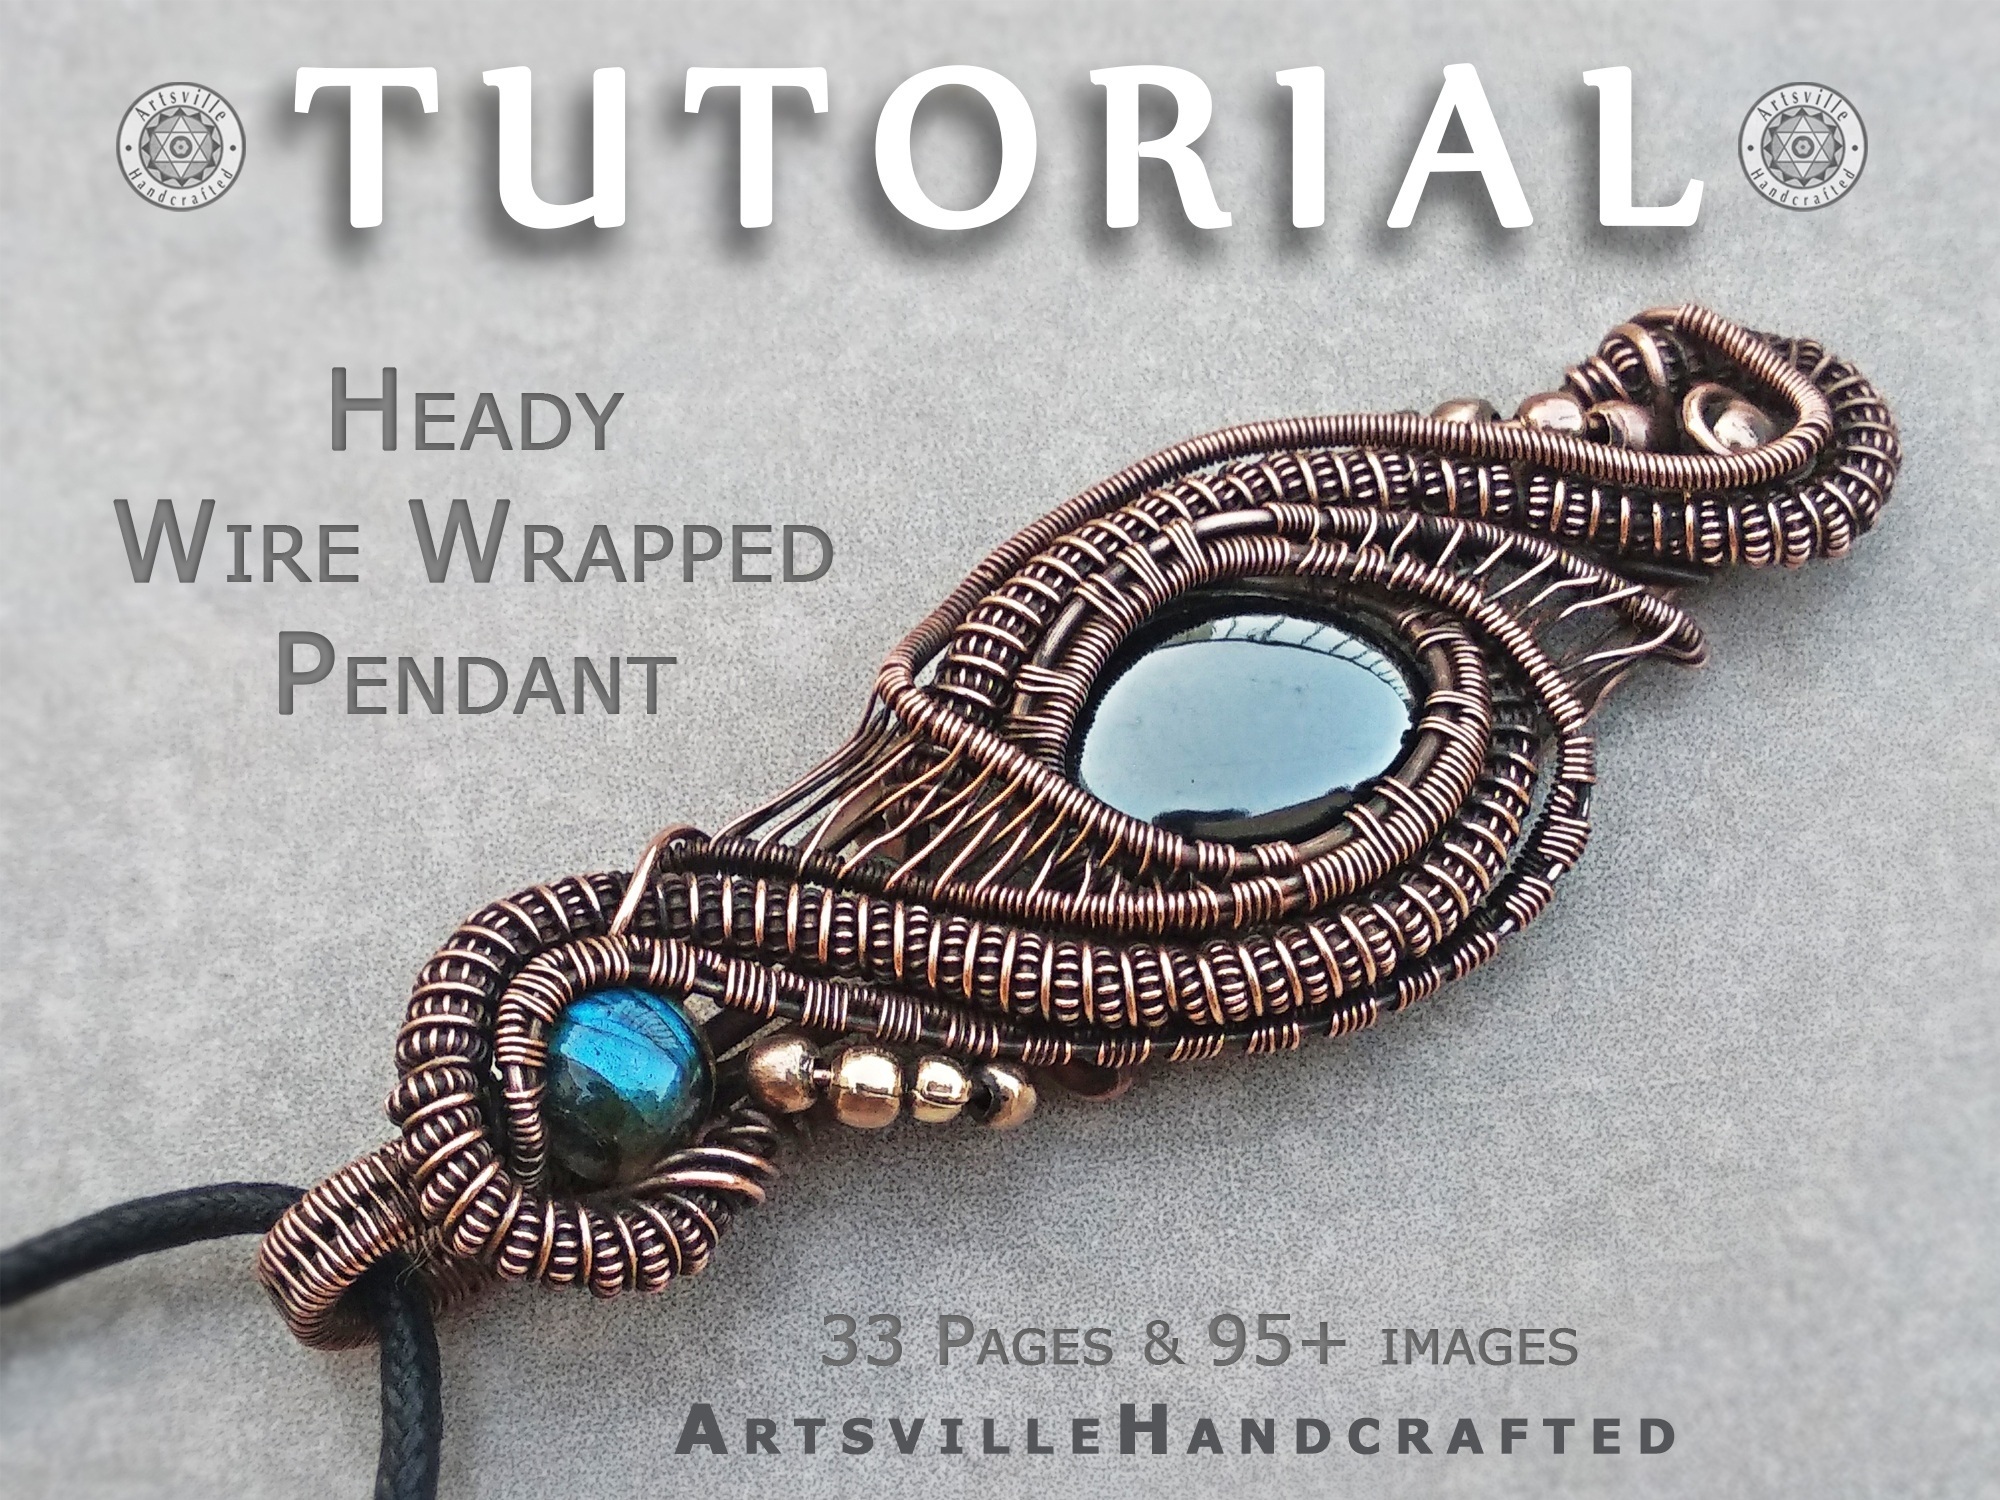
Learn how to create Heady Wire Wrap Pendant with PDF tutorial, Lesson Step by Step Instructions of Jewelry Making with wire weaving technique!! its intricate and beautiful. You can easily modify the stones and wire gauges as per your choice, just follow the overall structure of the pendant. Enjoy creating with this tutorial..
This is an intermediate level tutorial. You should have basic knowledge of Wire weaving and should be able to hand form curves!! The size of final pendant created in this tutorial is
3 ¼” Height x 1” Width.
Bellow is all the materials and tools required..
Materials to create Heady Wire Wrap Pendant:
Cabochon stone with flat back to create Heady Wire Wrap Pendant:
Round in shape, Size : 8mm Diameter
Oval in shape, Size : 19mm Height x 14mm Width
Variation 1: You can definitely replace the Oval stone with Round Stone. And you can altogether not use the small round stone.
Wires:
- 14” or 35.5cm of 18ga (gauge) solid Half Hard Square copper wire
- 24” or 60cm of 20ga (gauge) solid round dead soft copper wire,
- 79” or 200cm of 22ga (gauge) solid round dead soft copper wire,
- 42” or 106cm of 26ga (gauge) solid round dead soft copper wire,
- 378” or 960cm 30ga (gauge) solid round dead soft copper wire,
Beads to create Heady Wire Wrap Pendant
Copper beads:
2mm bead : 3 beads
2.5mm bead : 4 beads
3mm bead : 2 bead
Tools :
- Flat nose pliers
- Flush cutters for cutting the wire
- File (to smooth out all cut ends of wire)
- 5mm round Dowel (or any round pencil or pen of that diameter. You can use the bail making pliers if you have them)
- 25mm Dowel (Round Bottle/rolling pin)
- Jewelry Polishing pad or Nylon jaw pliers to straighten the wires
- Marker pen
- Ruler to measure
For final finishing:
You can leave the copper pendant as it is looking shiny or with natural tarnish. But I prefer to polish my pieces to high gloss, to do that you will need following
1. Liver of sulfur or any copper antiquing solution
2. Steel wool
3. Dremel with Cotton buff wheel
4. Polishing compound of your choice
Have fun creating !!
Do not lend, share or distribute this tutorial.
Do not mass produce. If you decide to sell designs created using this tutorial then please give credit to the author and share the link for this tutorial: www.artsvillehandcrafted.com
Contact me with any question you may have while creating..
Your LIKES, SHARES, and REVIEWS are very much appreciated!!
Please share photos of your creations via this tutorial..
– More wire wrap pendant tutorial: https://artsvillehandcrafted.com/shop/
– To purchase unique wire wrapped pendants: https://etsy.me/3Iidz8H
– I do not return or exchange PDF tutorials.
Let’s stay connected!!
Thanks for visiting.
Wire Wrap Tutorial, Wire Weaving Tutorial, Wire Wrapping Tutorials, Wire Jewelry Tutorial, Wire Pendant Tutorial, Wire Work Tutorial, PDF




Reviews
There are no reviews yet.